Enhancing Data Integration Stability: A Guide on EMQX Platform E2E Rule Testing
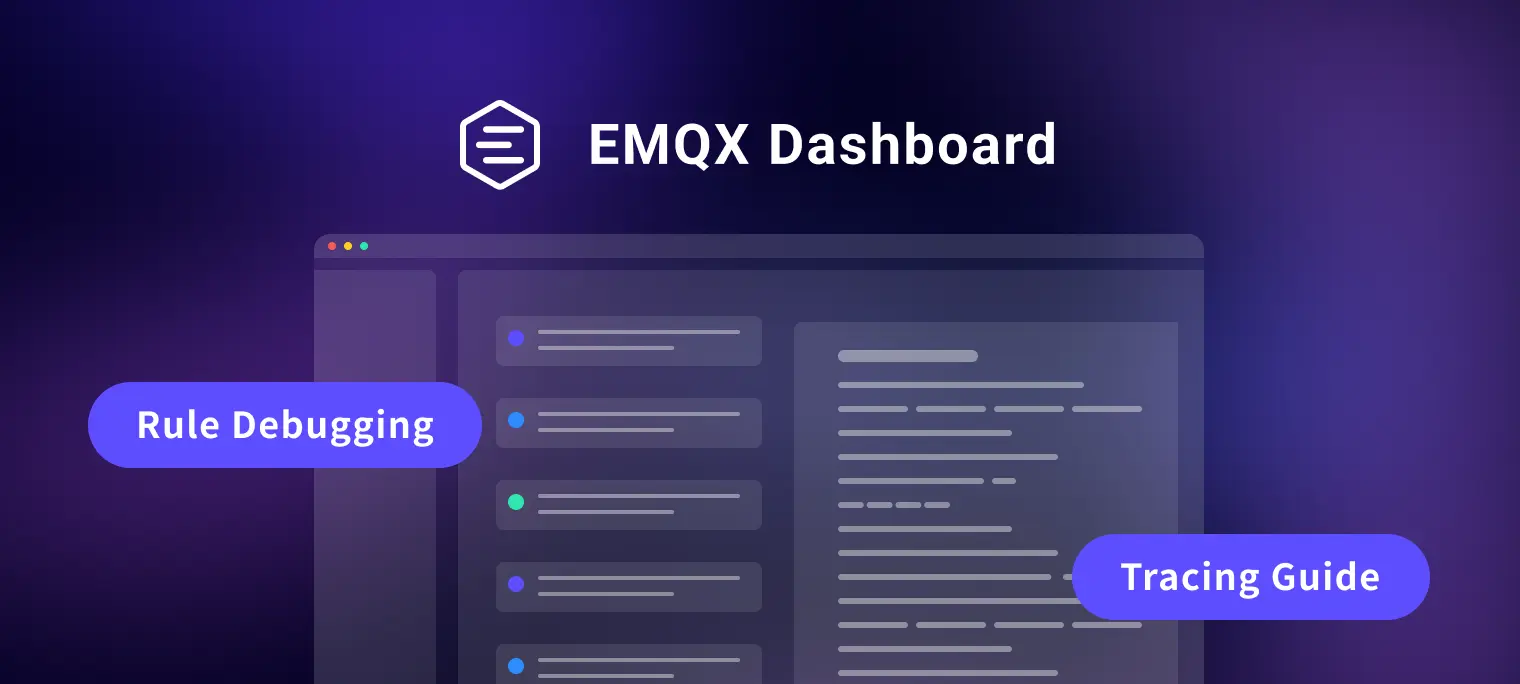
Table of Contents
Since version 5.7.0, EMQX has supported SQL debugging and introduced debugging for the rules within the entire data integration process. This new feature allows users to comprehensively verify and optimize rules during the development phase, ensuring that the rules operate stably and efficiently in a production environment.
Download EMQX latest version here: https://www.emqx.com/en/try?tab=self-managed
This blog will guide you through debugging rules within EMQX's data integration, providing a step-by-step tutorial to help you make the most of this powerful feature.
What is the EMQX Rule Engine?
The EMQX rule engine is an SQL-based data processing component that uses data integration to allow users to perform IoT data extraction, filtering, transformation, storage, and processing without writing code.

How the Rule Engine Works:
- Data Source: Specified using the FROM clause in SQL.
- Data Processing: Described using SQL statements and functions.
- Processing Result Destination: Actions handle the output results, such as storing them in a database or republishing them to an MQTT topic.
Key Actions:
- Message republish to MQTT topics
- Console output
- Sending to external data systems like Kafka, MySQL, PostgreSQL, etc.
This guide focuses on debugging these rules within EMQX’s data integration to ensure they work as expected in a production environment.
Why Do You Need Rule Testing?
Currently, creating a directly usable rule in EMQX can be challenging due to several limitations:
- Limited to SQL Testing: Only supports simulating data input for SQL testing to help users easily adjust SQL syntax to achieve their goals.
- Action Testing: Actions can only be observed in the production environment of Sink resources, limiting the ability to test and verify them beforehand fully. Each adjustment requires switching to different places to check if it was successful.
- Simulated Data Limitations: Simulated test data is often limited and may not accurately reflect the full range of MQTT attributes and event simulations. Real data can more effectively emulate various user scenarios.
Rule testing effectively addresses these issues by providing comprehensive feedback through the Dashboard and tracking logs across the entire data integration lifecycle. This helps users better identify and resolve problems. The benefits of rule testing include:
- End-to-End Validation: Allows the use of real data sources and actions, ensuring that every step of the data flow from input to output works as expected.
- Better Issue Detection: During the development and rule editing phases, the UI provides a user-friendly interface that helps users effectively identify and resolve potential issues, reducing failures in the production environment.
- Increased Development Efficiency: Testing features can significantly shorten development and testing cycles.
- System Stability Assurance: Pre-testing and validating rules help prevent unforeseen issues in the production environment.
A Step-by-Step Guide on Using Rule Testing
Installing EMQX Enterprise
Recommended Download: EMQX Enterprise - This version provides rich data integration features, including Kafka, RabbitMQ, MySQL, PostgreSQL, InfluxDB, TimescaleDB, and other commonly used relational databases, time-series databases, and stream processing middleware, etc.
Alternatively, you can install it using the Docker command:
docker run -d --name emqx-enterprise -p 1883:1883 -p 8083:8083 -p 8084:8084 -p 8883:8883 -p 18083:18083 emqx/emqx-enterprise:5.7.1
Once the installation is complete, open the address <http://<your-host-address>>:18083 in your browser, and enter the default username and password to log into the Dashboard.
After entering the Dashboard, click on Data Integration → Rules → Create, and you will be directed to the rule engine creation page. The upper section of this page is for configuring SQL, Data Source, and Sink. Below this is the section where we will use rule testing. Let two simple examples demonstrate how to create and enable rule testing.

Creating Rules
After EMQX is installed, we demonstrate the use of the rule engine through a specific example. This scenario simulates vehicle data reporting; when the vehicle speed exceeds 120 km/h, related data (including speed and geographical location) is published to an HTTP service. The vehicle ID and MQTT connection information are stored in a PostgreSQL database.
Simulating MQTT Payload for Testing: First, construct a test MQTT payload to simulate vehicle data reporting.
{
  "vehicle_id": "VH-958-XYZ",
  "speed": 72,
  "location": {
    "latitude": 40.7128,
    "longitude": -74.0060
  },
  "safety_features": {
    "airbag_deployed": false,
    "abs_status": "active"
  },
  "timestamp": "2024-07-11T15:45:00Z"
}
Creating SQL Rules: Use the SQL editor to create a rule on the
devices/#topic, with the condition set to trigger when the speed exceeds 120 km/h.SELECT username, clientid, payload.vehicle_id as vehicle_id, payload.speed as speed, payload.location.latitude as latitude, payload.location.longitude as longitude, payload.safety_features.airbag_deployed as airbag_deployed, payload.safety_features.abs_status as abs_status, timestamp FROM "devices/#" WHERE payload.speed > '120'Testing and Debugging SQL: After writing the SQL, click the 'Start Test' button to debug the SQL syntax in the SQL Tab. You can enter simulated data to test, thus adjusting and optimizing your SQL statement. For a detailed guide on writing SQL, refer to EMQX Documentation. Once testing is complete, we will set up HTTP and PostgreSQL environments to add two Actions for this rule.
Setting up HTTP Service
Next, we use Node.js to create a simple HTTP service to receive and display data.
const express = require("express");
const app = express();
app.use(express.json());

app.post("/speed", (req, res) => {
  const { speed, latitude, longitude } = req.body;
  console.log(`Received data: Speed is ${speed} km/h at coordinates (${latitude}, ${longitude}).`);
  res.status(200. send("Data received successfully!");
});

const PORT = 3000;
app.listen(PORT, () => {
  console.log(`Server is running on port ${PORT}`);
});
On the rule creation page, choose to add an action, create an HTTP connector, and configure the HTTP request body to send the data extracted by SQL to the HTTP service.

Configuring PostgreSQL Database
Next, we deploy a PostgreSQL database quickly using Docker and manage the database using Postico or another GUI client.
services:
  postgres:
    image: postgres
    environment:
      POSTGRES_DB: emqx
      POSTGRES_USER: admin
      POSTGRES_PASSWORD: public
    ports:
      - "5432:5432"
    volumes:
      - pgdata:/var/lib/postgresql/data
Create a database table and add an action to store data in the database.
CREATE TABLE car_infos (
  id SERIAL PRIMARY KEY,
  username VARCHAR(255),
  clientid VARCHAR(255),
  timestamp TIMESTAMP,
  vehicle_id VARCHAR(255),
  speed INT
);
Once created, also on the rule creation page, click to add an action, create a PostgreSQL Connector, and use this Connector to create an action. In the SQL template, input the following INSERT statement to ensure that when the rule triggers, the SQL-filtered data is saved to the database:
INSERT INTO car_infos (
  username,
  clientid,
  timestamp,
  vehicle_id,
  speed
) VALUES (
  ${username},
  ${clientid},
  TO_TIMESTAMP(${timestamp}::bigint / 1000),
  ${vehicle_id},
  ${speed}
);

Starting the Test
Note: Ensure the rules are saved before starting the test.
Begin by navigating the Rule Tab and clicking the "Start Test" button. Make sure to save the SQL rules using the save button at the bottom of the interface. Saving is essential as it enables end-to-end tracing of the test execution.
For users not using an MQTT client, simulated test data can be entered through the testing interface's right-side panel. This method allows for input simulation, though it may not completely mimic real-world scenarios due to potential configuration restrictions.
We recommend using MQTTX to simulate test data effectively. Connect to the current MQTT Broker and send real data to the topic devices/1.

If the rule is not triggered—for example, if the speed value is less than 120—you will observe an output indicating SQL No Result, signaling that the rurule's’sonditions were not met.

Conversely, if the rule is successfully triggered, such as when the speed exceeds 120, each test instance will appear chronologically in the test interface's left panel, showing the event or topic message and the time the test started. Detailed results of the test can be viewed by selecting any listed instance.
The outcomes of each action, such as operations involving the HTTP server or the PostgreSQL database, will be clearly displayed. Successful actions are indicated by a green checkmark, while failed ones are marked with a red "X".
Each action detail expands to show a Request section, indicating what data the rule engine processed and forwarded. For example, the HTTP service's response is displayed following each request, providing insights into the action's outcome. Similarly, other actions will display a Result section to illustrate their effectiveness.
Next, to simulate error debugging, remove the Path configuration in the HTTP Action. We also modify the vehicle_id in a payload for the PostgreSQL database to exceed 255 characters, triggering a rule that assesses both setups.

HTTP Server
Upon triggering, if the HTTP Server action fails, you can view the details by examining the Request. The Body content should align with expectations. If the Action fails, the Reason field will provide specific failure details. Typically, a 404 status indicates a misconfiguration; an error message such as "Cannot post" will appear if the path was incorrectly set to /.

To correct this, return to the rule editing interface, update the Action to include a Path of /speed, and save. This adjustment doesn't require a rule re-save - simply resend the test data. If correctly configured, the HTTP server's response should reflect success, and corresponding data will be visible on the HTTP service console.


PostgreSQL
Reviewing the PostgreSQL action, if the insertion attempt fails, the Reason field will reveal an error code such as string_data_right_truncation (22001), indicating that the data length exceeded the field's limits in the database.


Adjust the vehicle_id to a shorter length, resend the data, and observe successful insertion, as confirmed in the Result section and by database checks using tools like Postico.


This structured approach tests rule accuracy and enhances debugging, allowing users to efficiently correct and optimize rule settings.
Summary
This article demonstrated the basics of rule debugging and tracing in EMQX through a straightforward example, helping to clarify the differences from traditional SQL testing. End-to-end (E2E) rule testing is crucial for maintaining the robustness and reliability of the EMQX Platform, particularly in complex IoT environments. It enhances development efficiency and ensures system stability by detecting issues early.
While the current tools offer significant advantages, there is room for improvement, particularly in content display and user interaction. Future updates will refine these aspects to enhance user experience and functionality. Please stay tuned.